
The “Problem”
Ever since I was little I have loved star wars, and for the past year my friends and I have been having weekly lightsaber duels on our college campus.
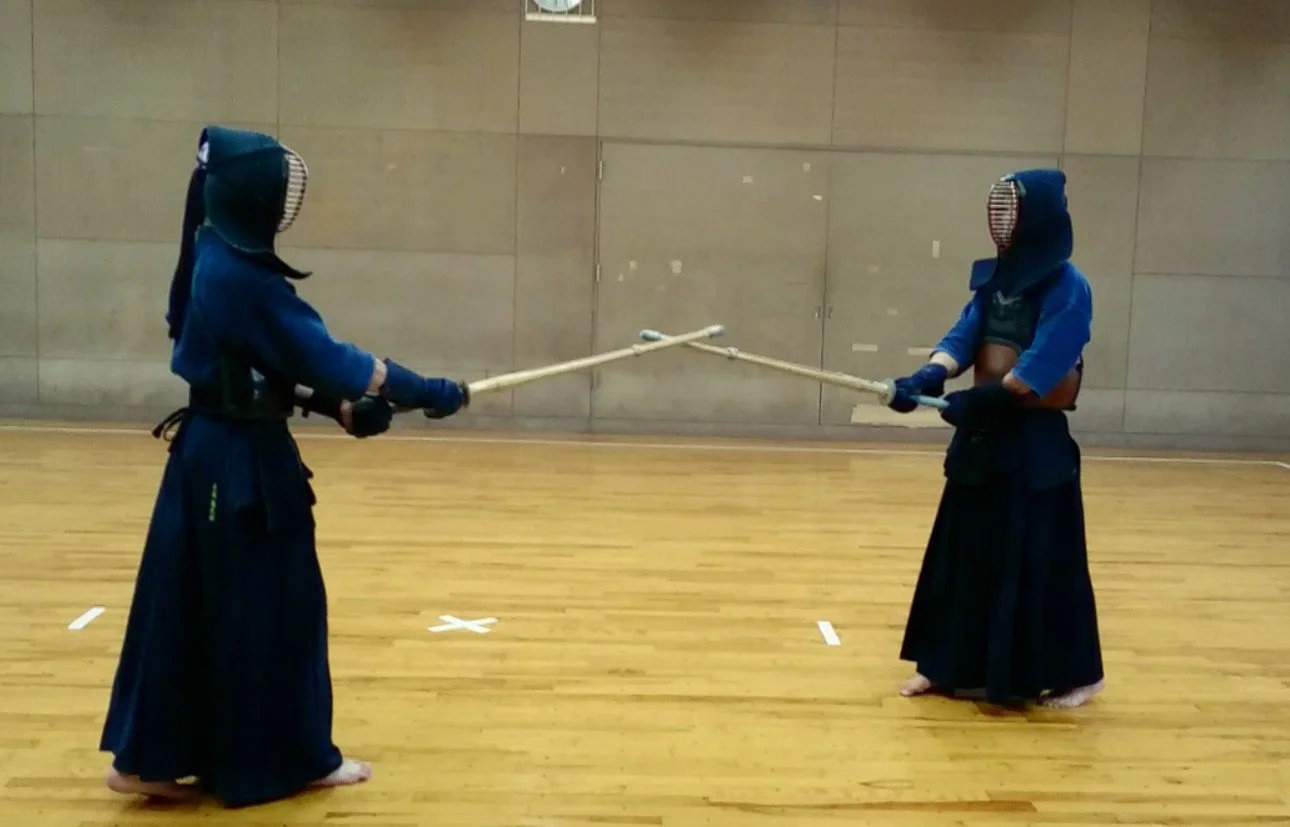
However, I have discovered that because of my background in fencing, and lightsaber dueling being inspired by Kendo, I am not as good at fighting as my friends.

Research
George Lucas based Star Wars off of Akira kurosawa’s Samurai films, and the Lightsaber fights of the original trilogy off of the Kendo fighting style.
Samurai swords, in particular Katanas, are single edged swords meant for slashing rather than stabbing.
In Kendo, you need to land a hard and fatal hit on one of your opponents target areas using the edge of the “blade.”


Research
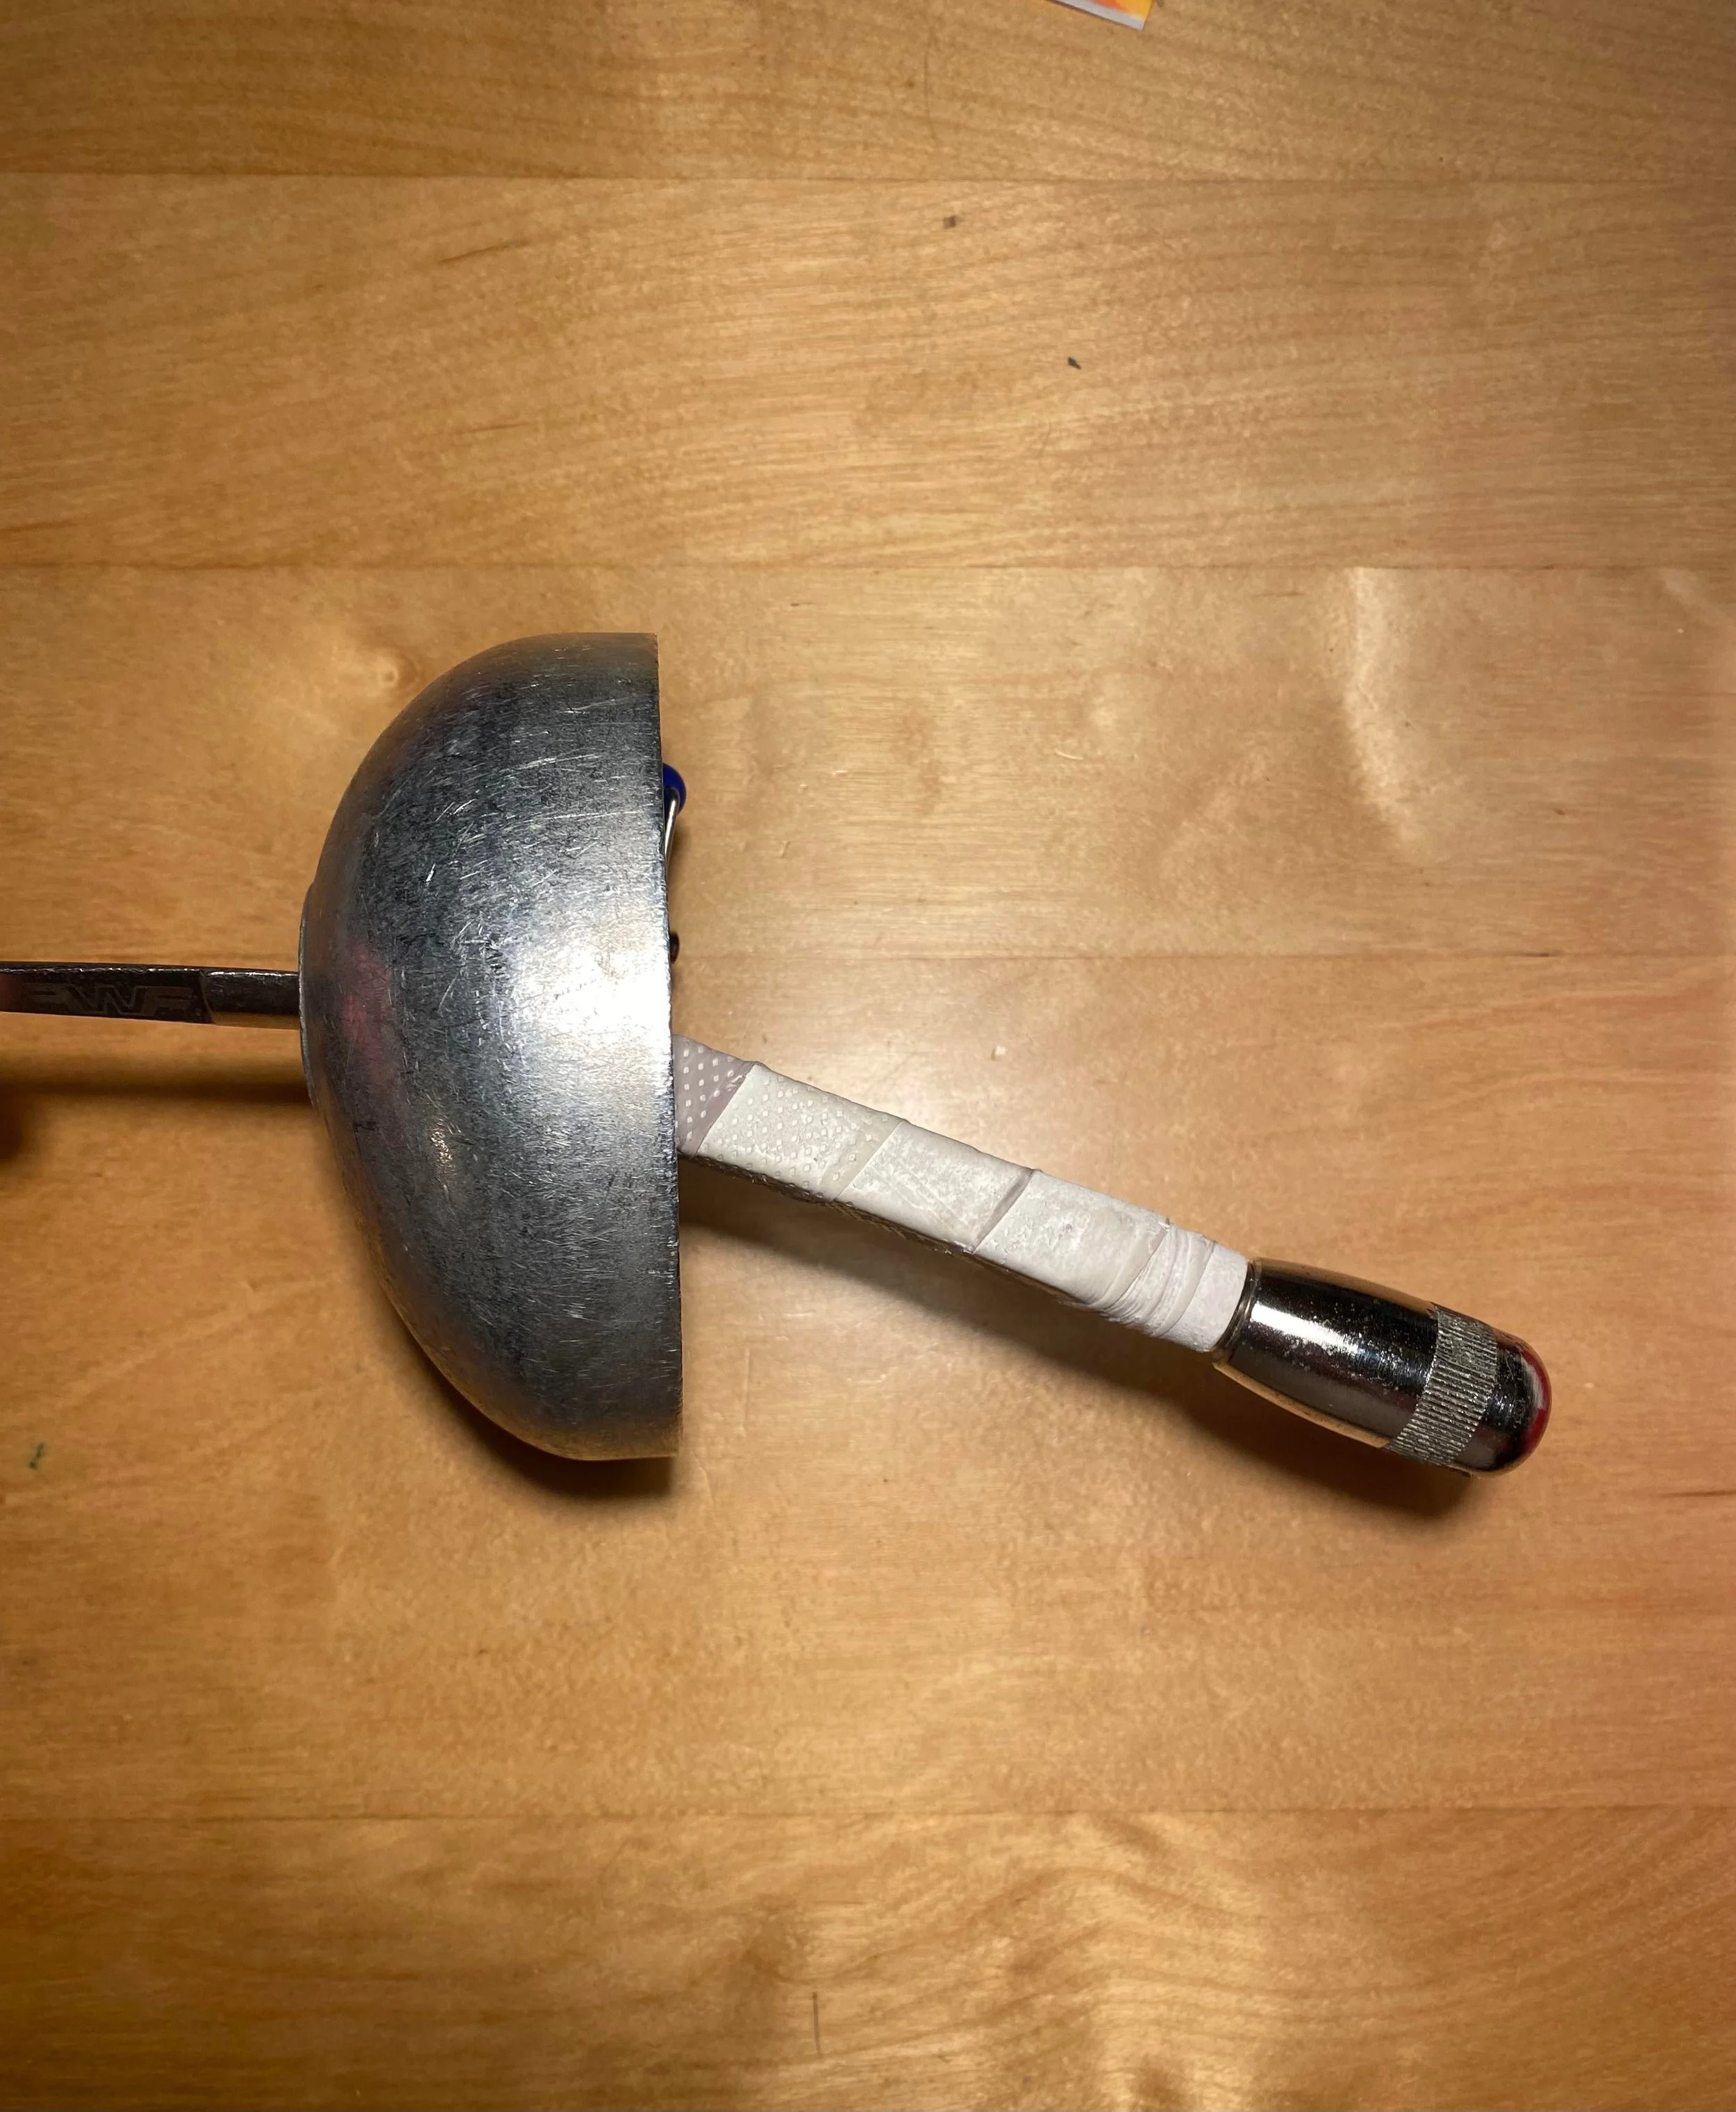
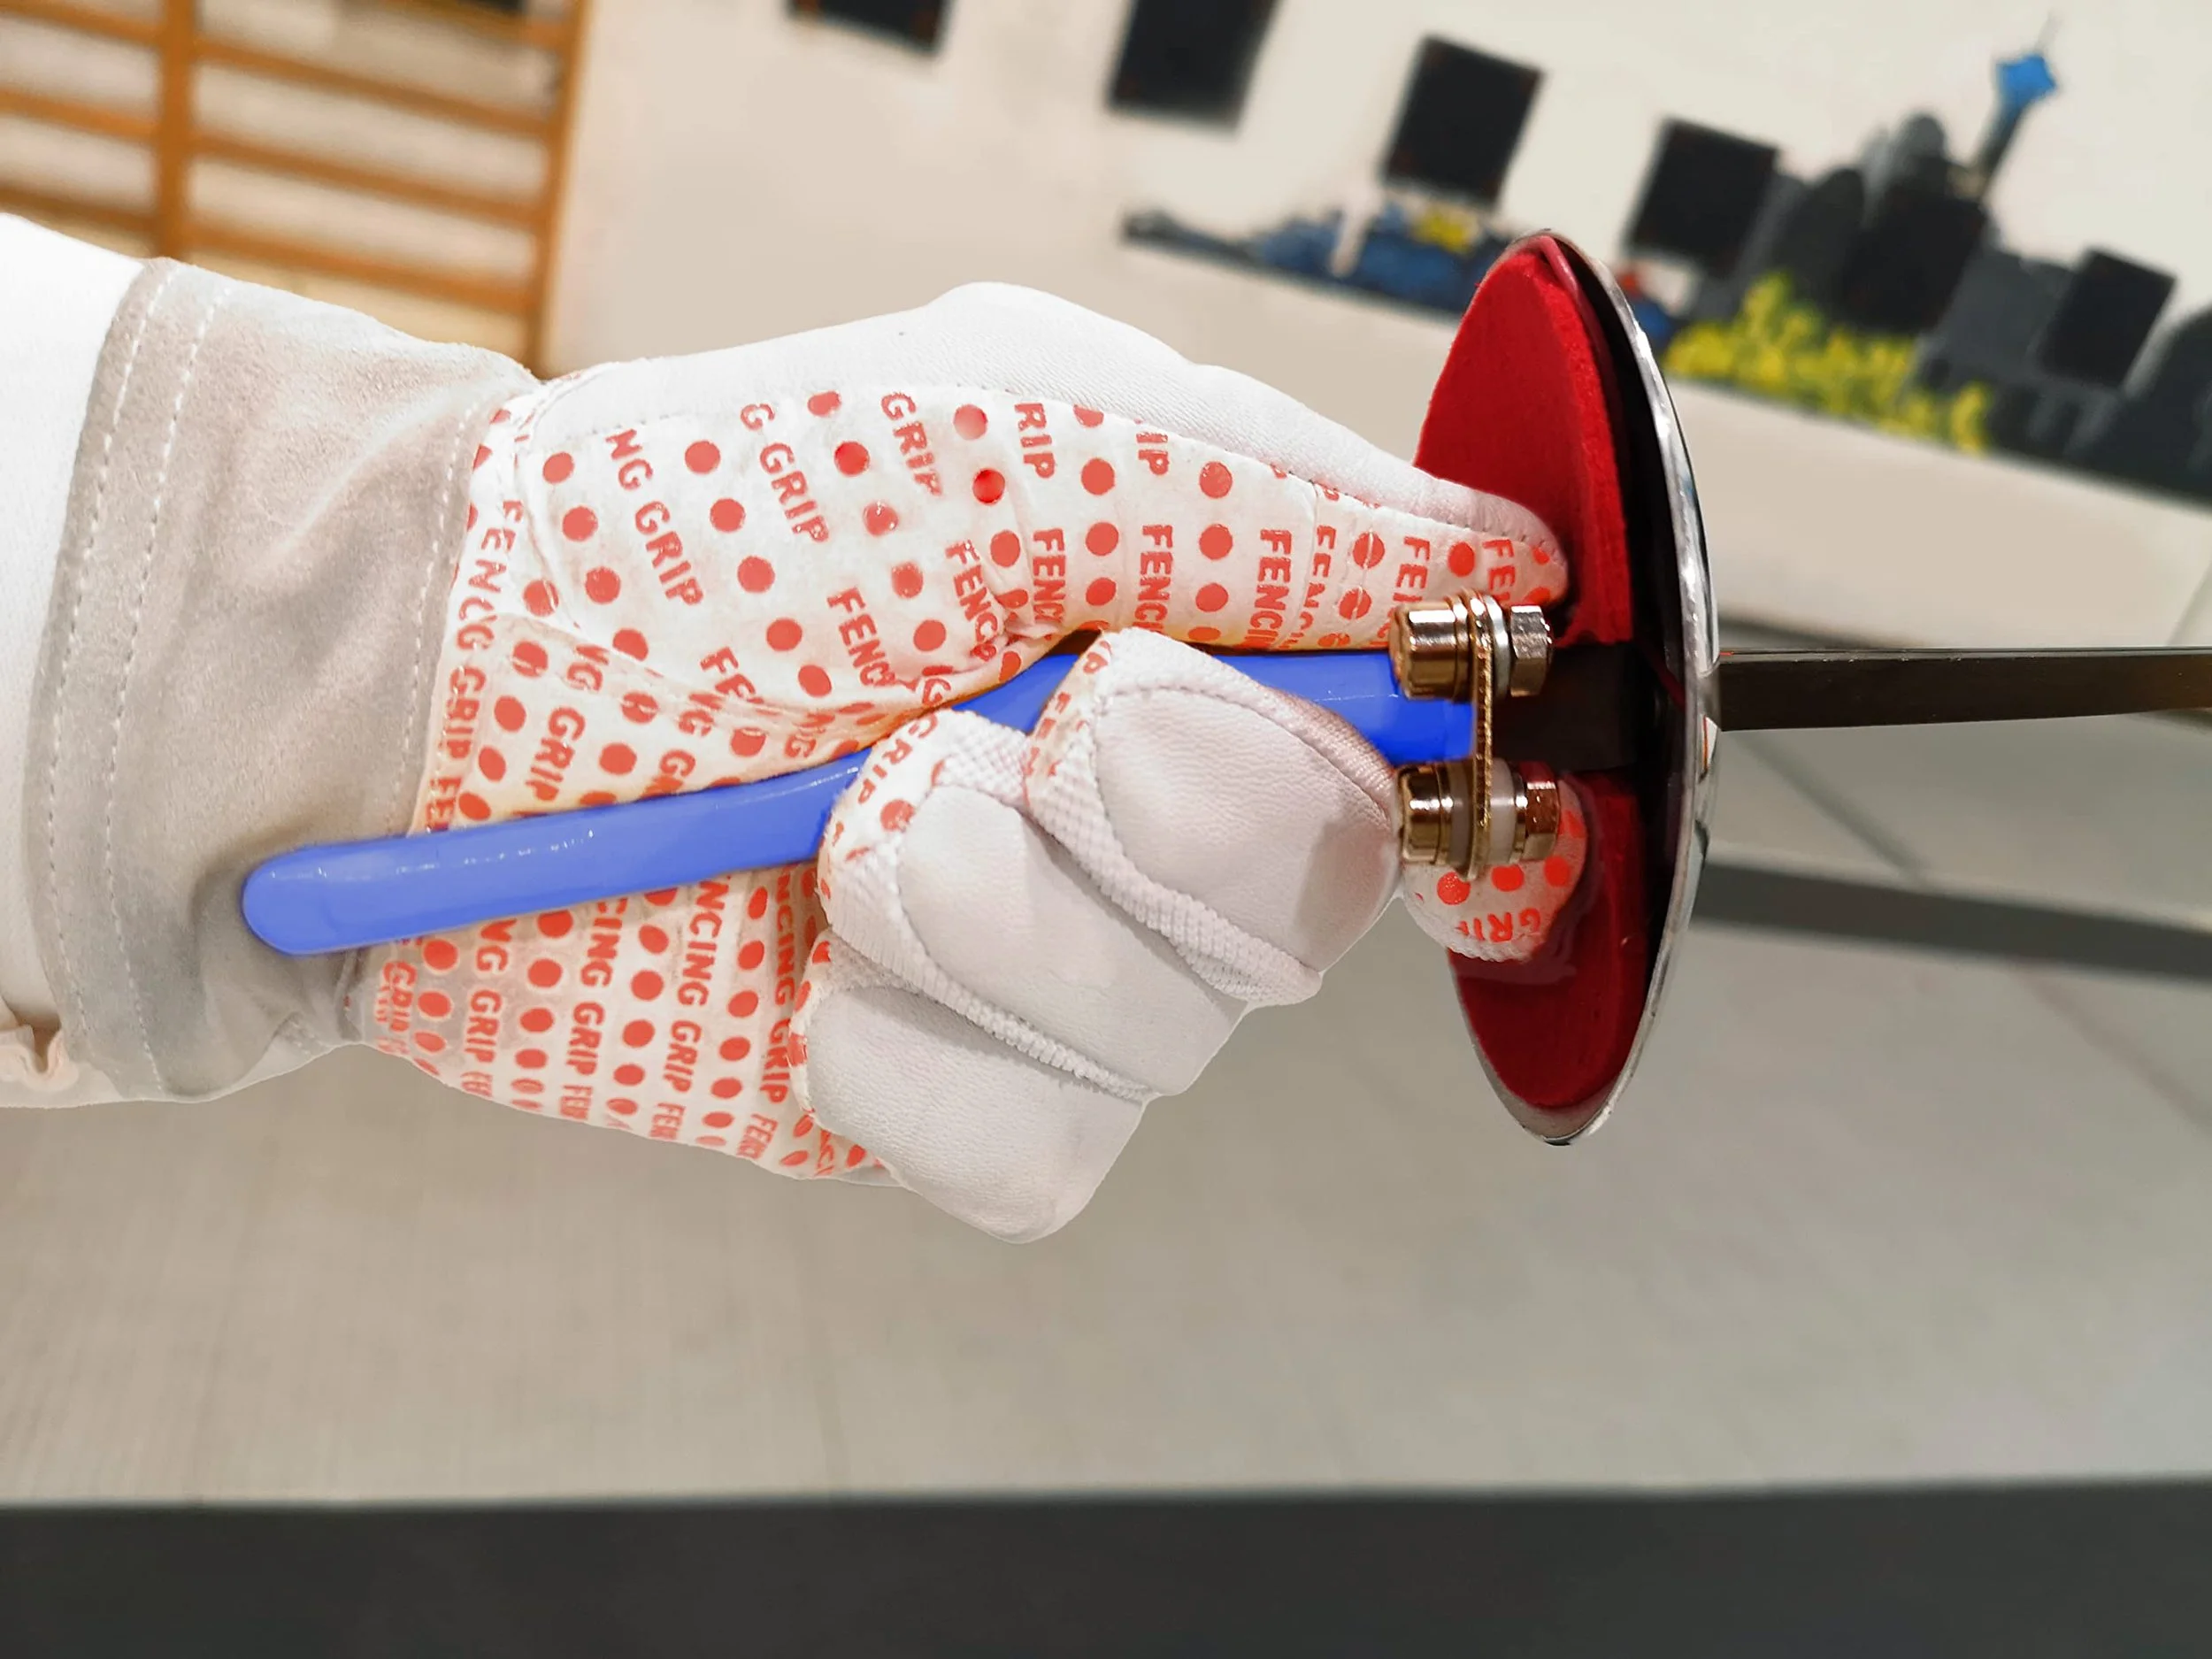
In grade school I fenced epee, which involved thrusts and stabs rather than swings and slashes. This also means that most lightsabers are uncomfortable to use with my fighting style, as most fencing swords have a specific angled handle, such as a “French Grip” for comfort and to better allow those types of attacks.
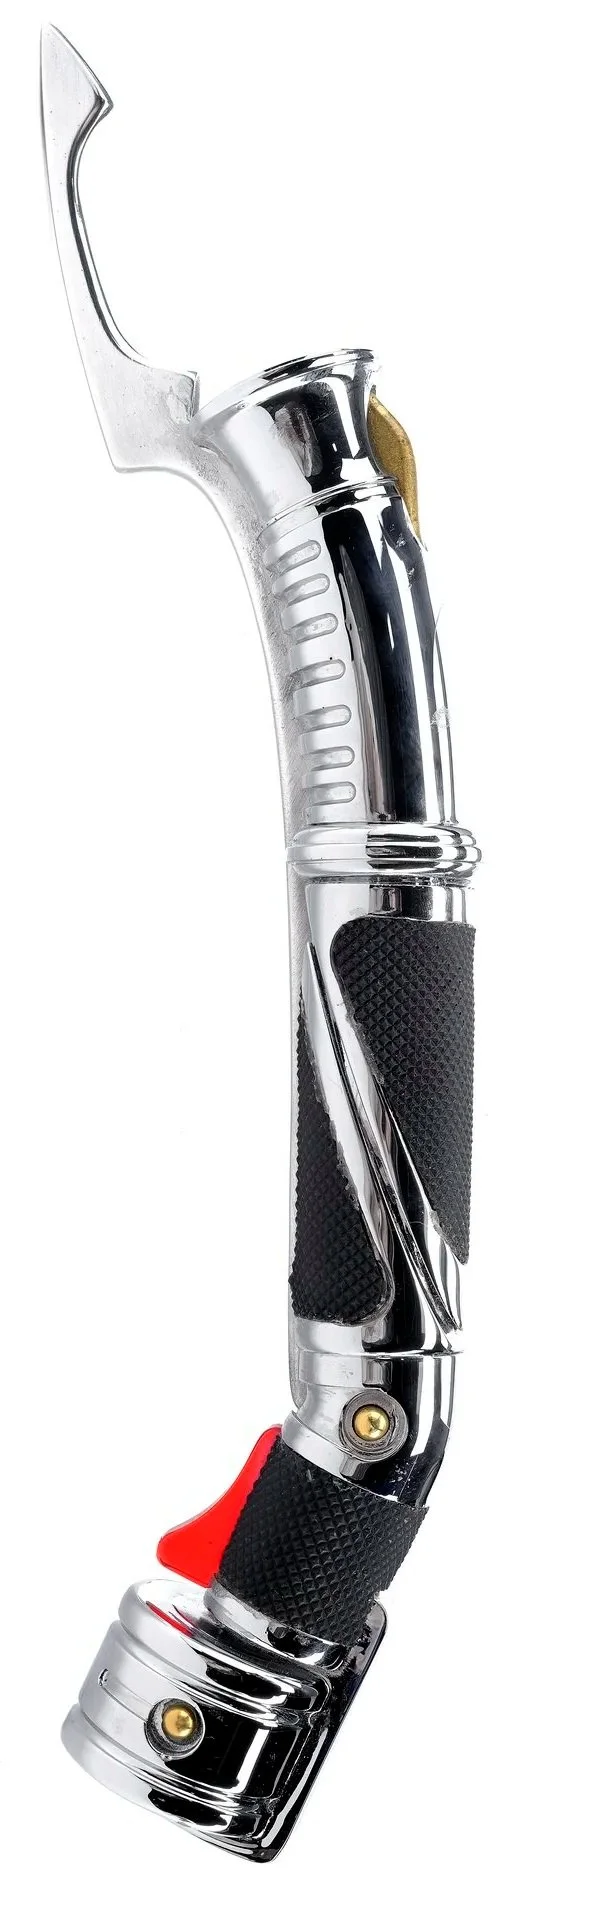
Star wars has made a lightsaber based off of this, Count Dooku’s, however, the only versions on the market are not meant for dueling and are incredibly expensive. So I decided to make my own.
Material research
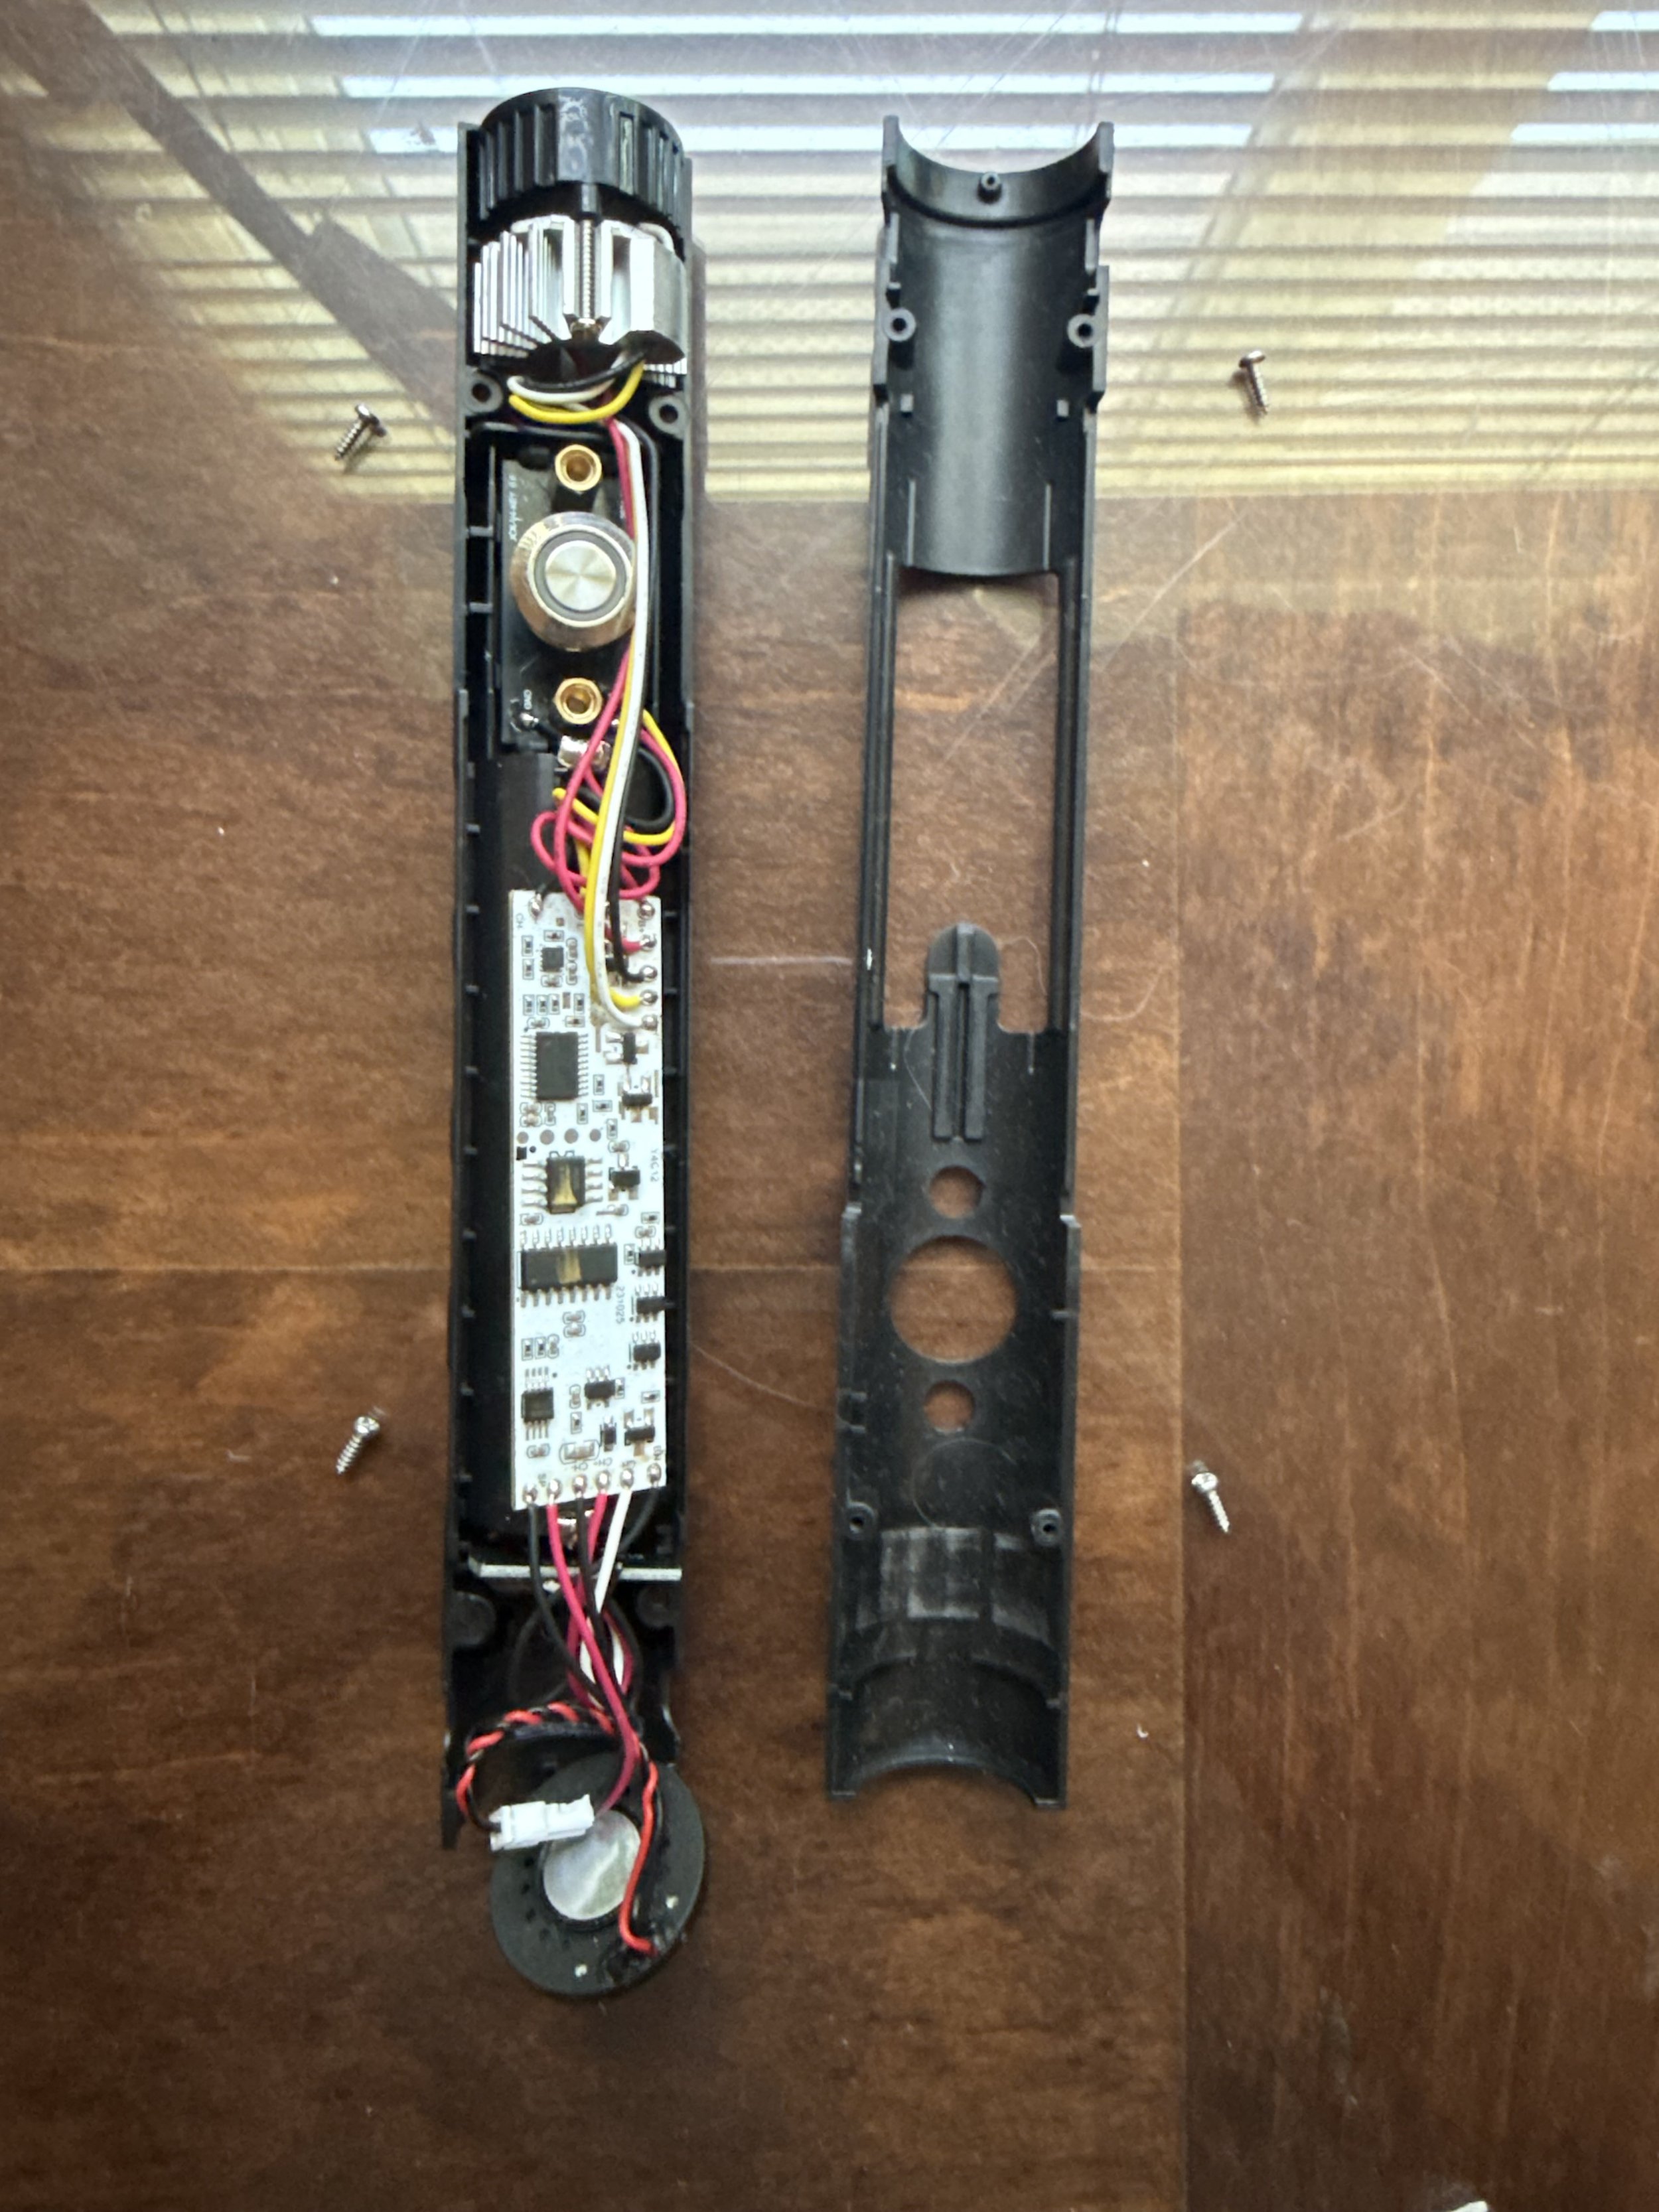
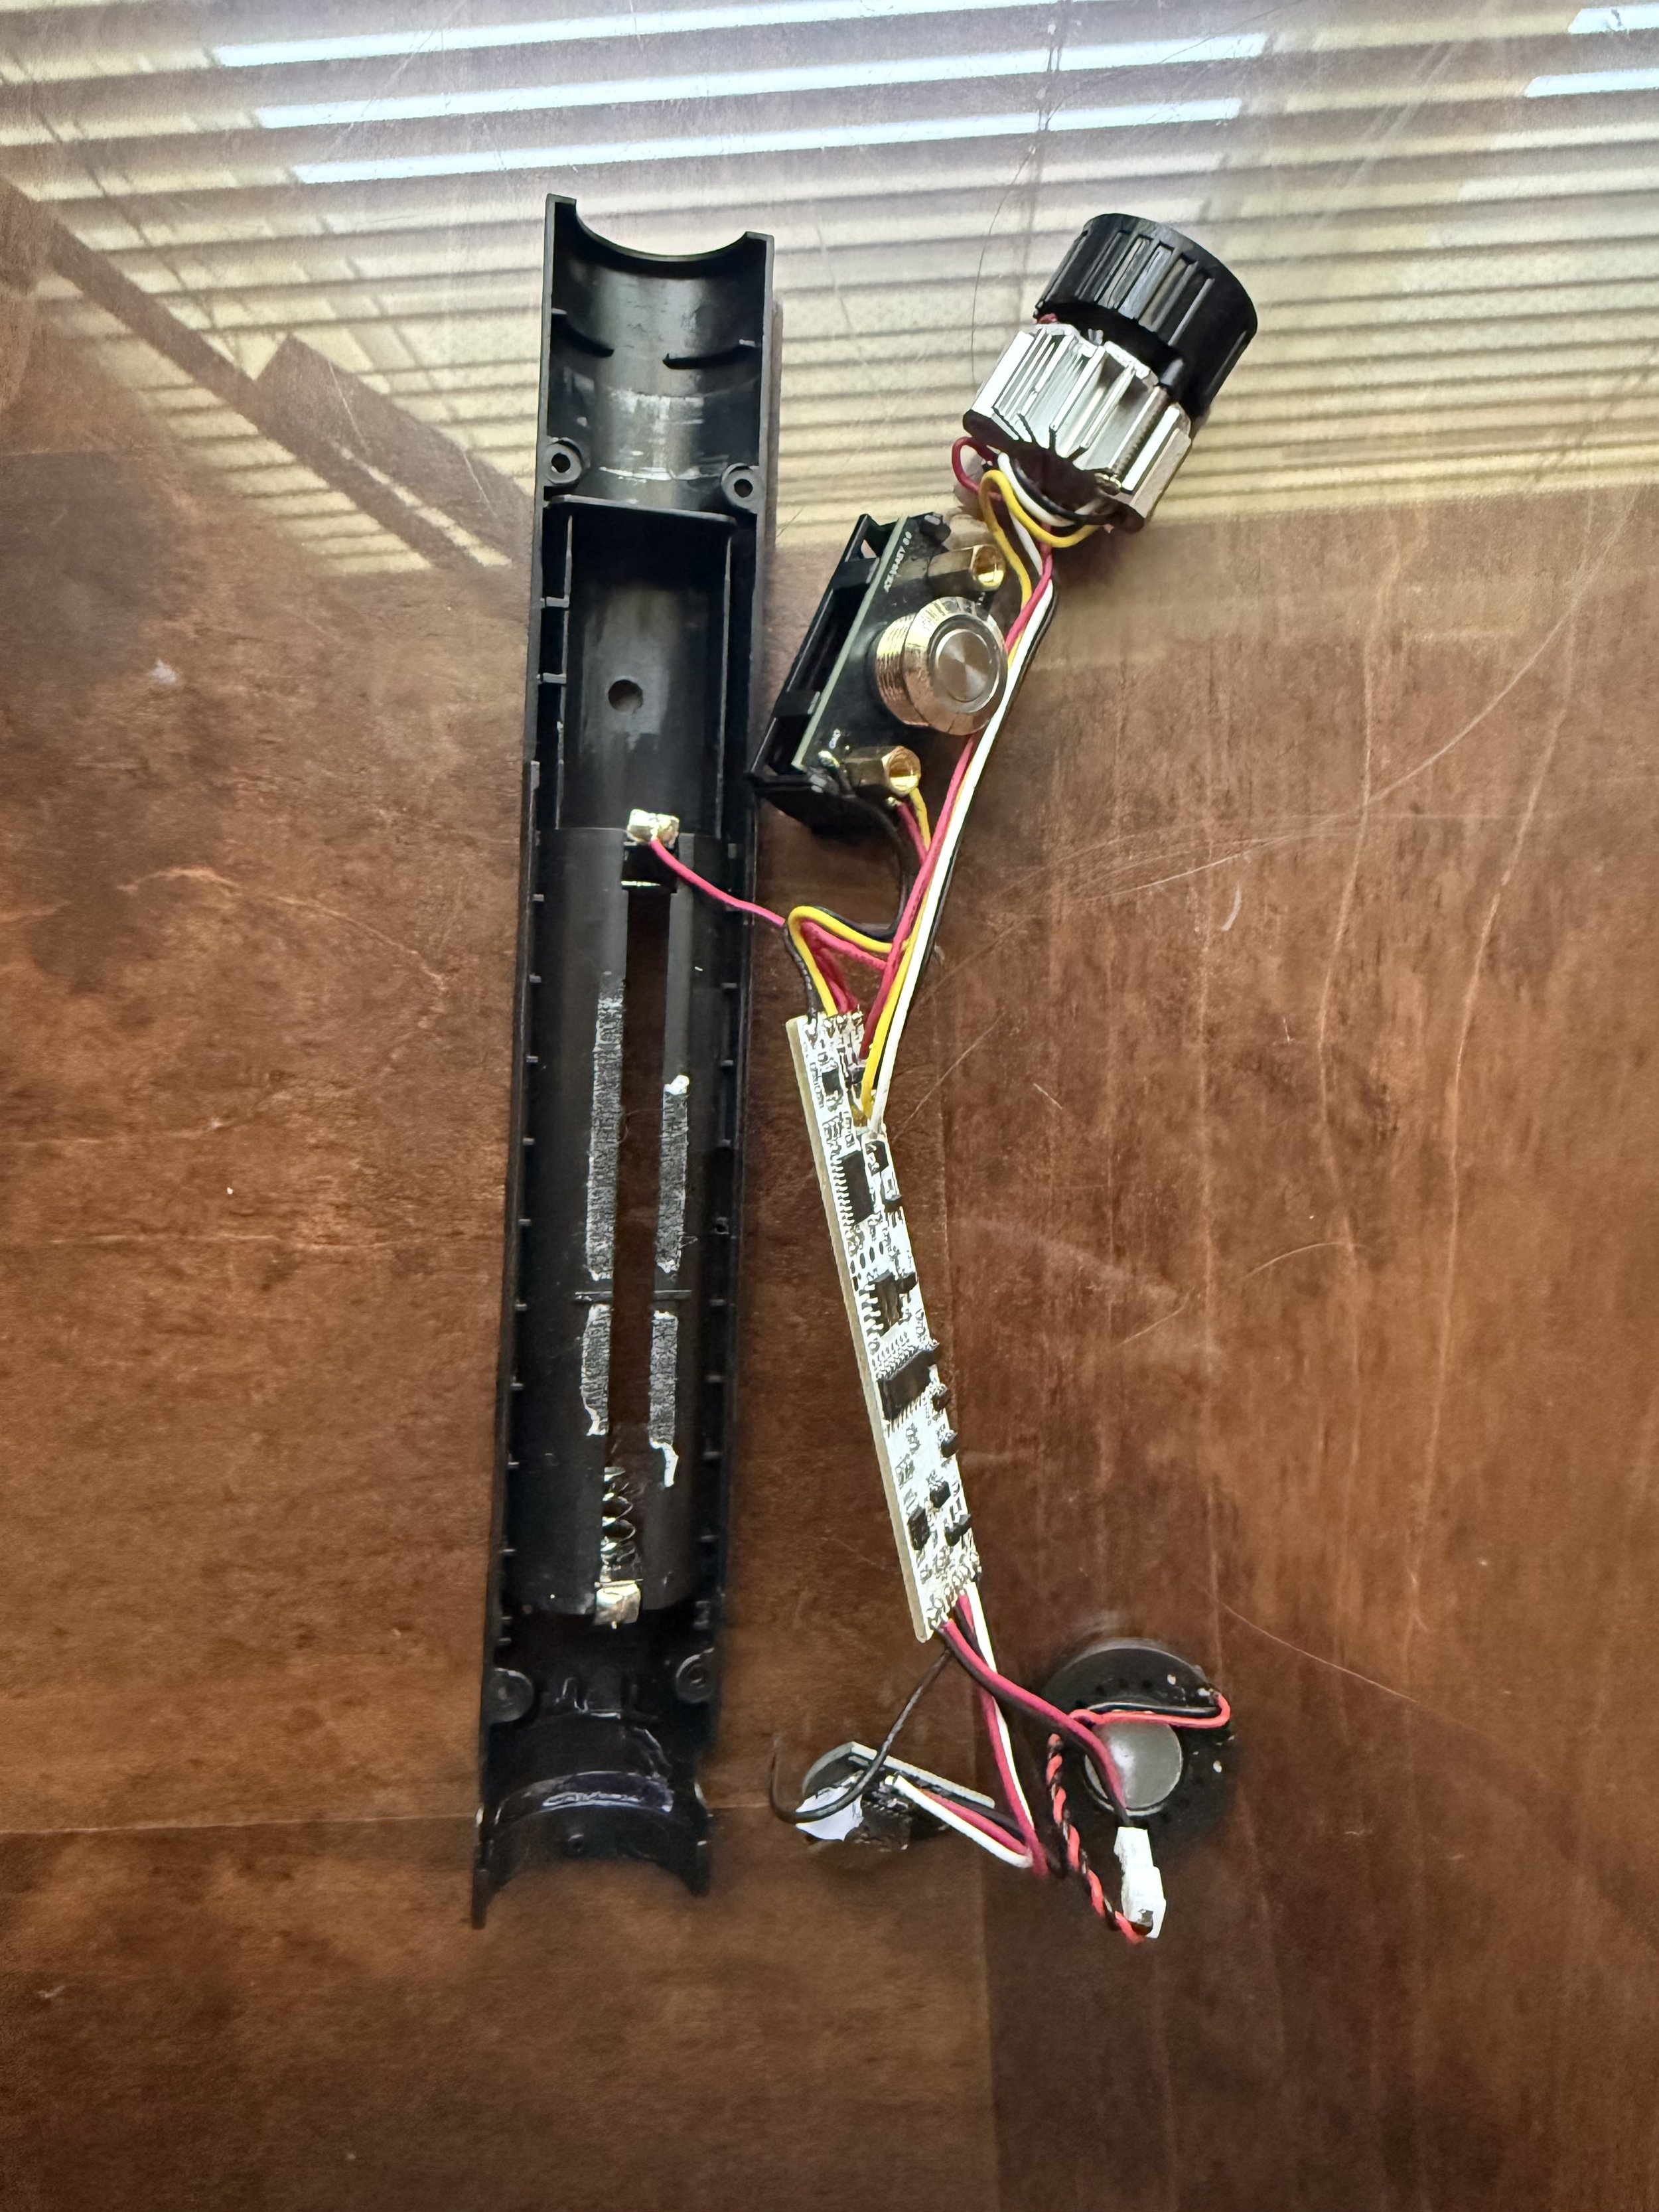
I started by disassembling the internals of a cheap lightsaber I got at a convention to see how it works.
A battery connects to a circuit board which then connects to a button, speaker, and what is essentially a flashlight.
I found that besides where the battery connected to the wires, all the other electronics could be removed and would still work properly.
Framework
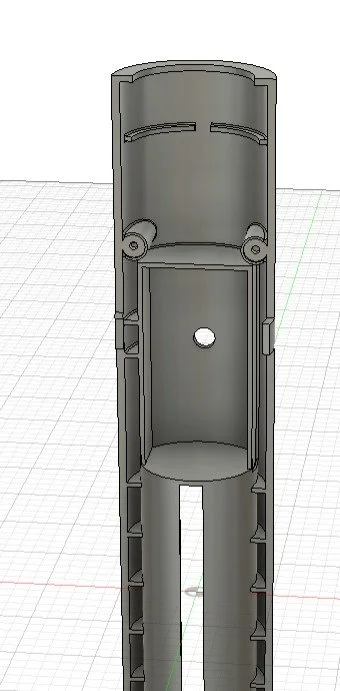
I then measured the internal casing and replicated it in Fusion 360. This would allow me to create a new casing that would still be able to hold all the original electronics.
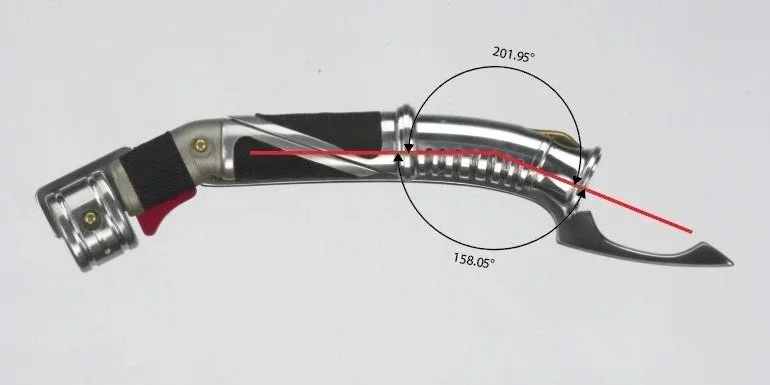
I then measured the approximate tilt-angle on Count Dooku’s lightsaber and tilted the upper portion of my model to that angle.
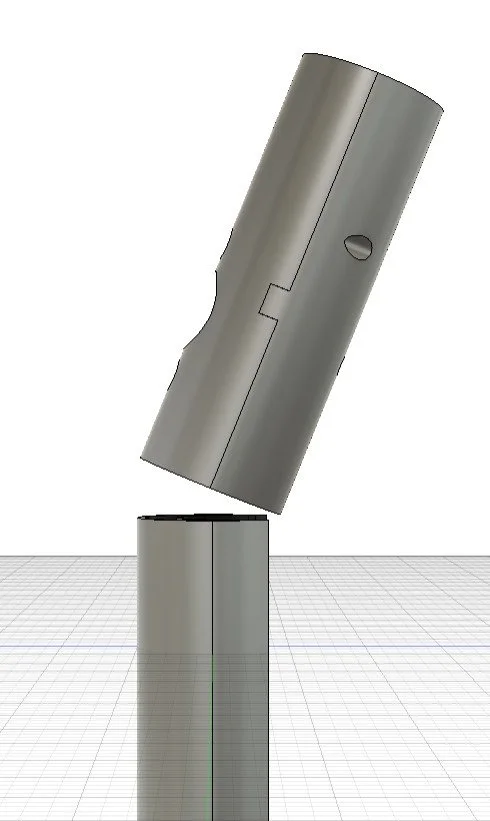
modeling
After Many attempts to find a way to connect the outer hilts together at that angle, a combined internal casing and coupler piece was fabricated. This was the best way that I found that the internal components could fit in a curved hilt properly.
Because of the curve, the only way for the two fabricated pieces to fit together is if part of the curve was incorporated into one of the pieces, creating a cap of sort.
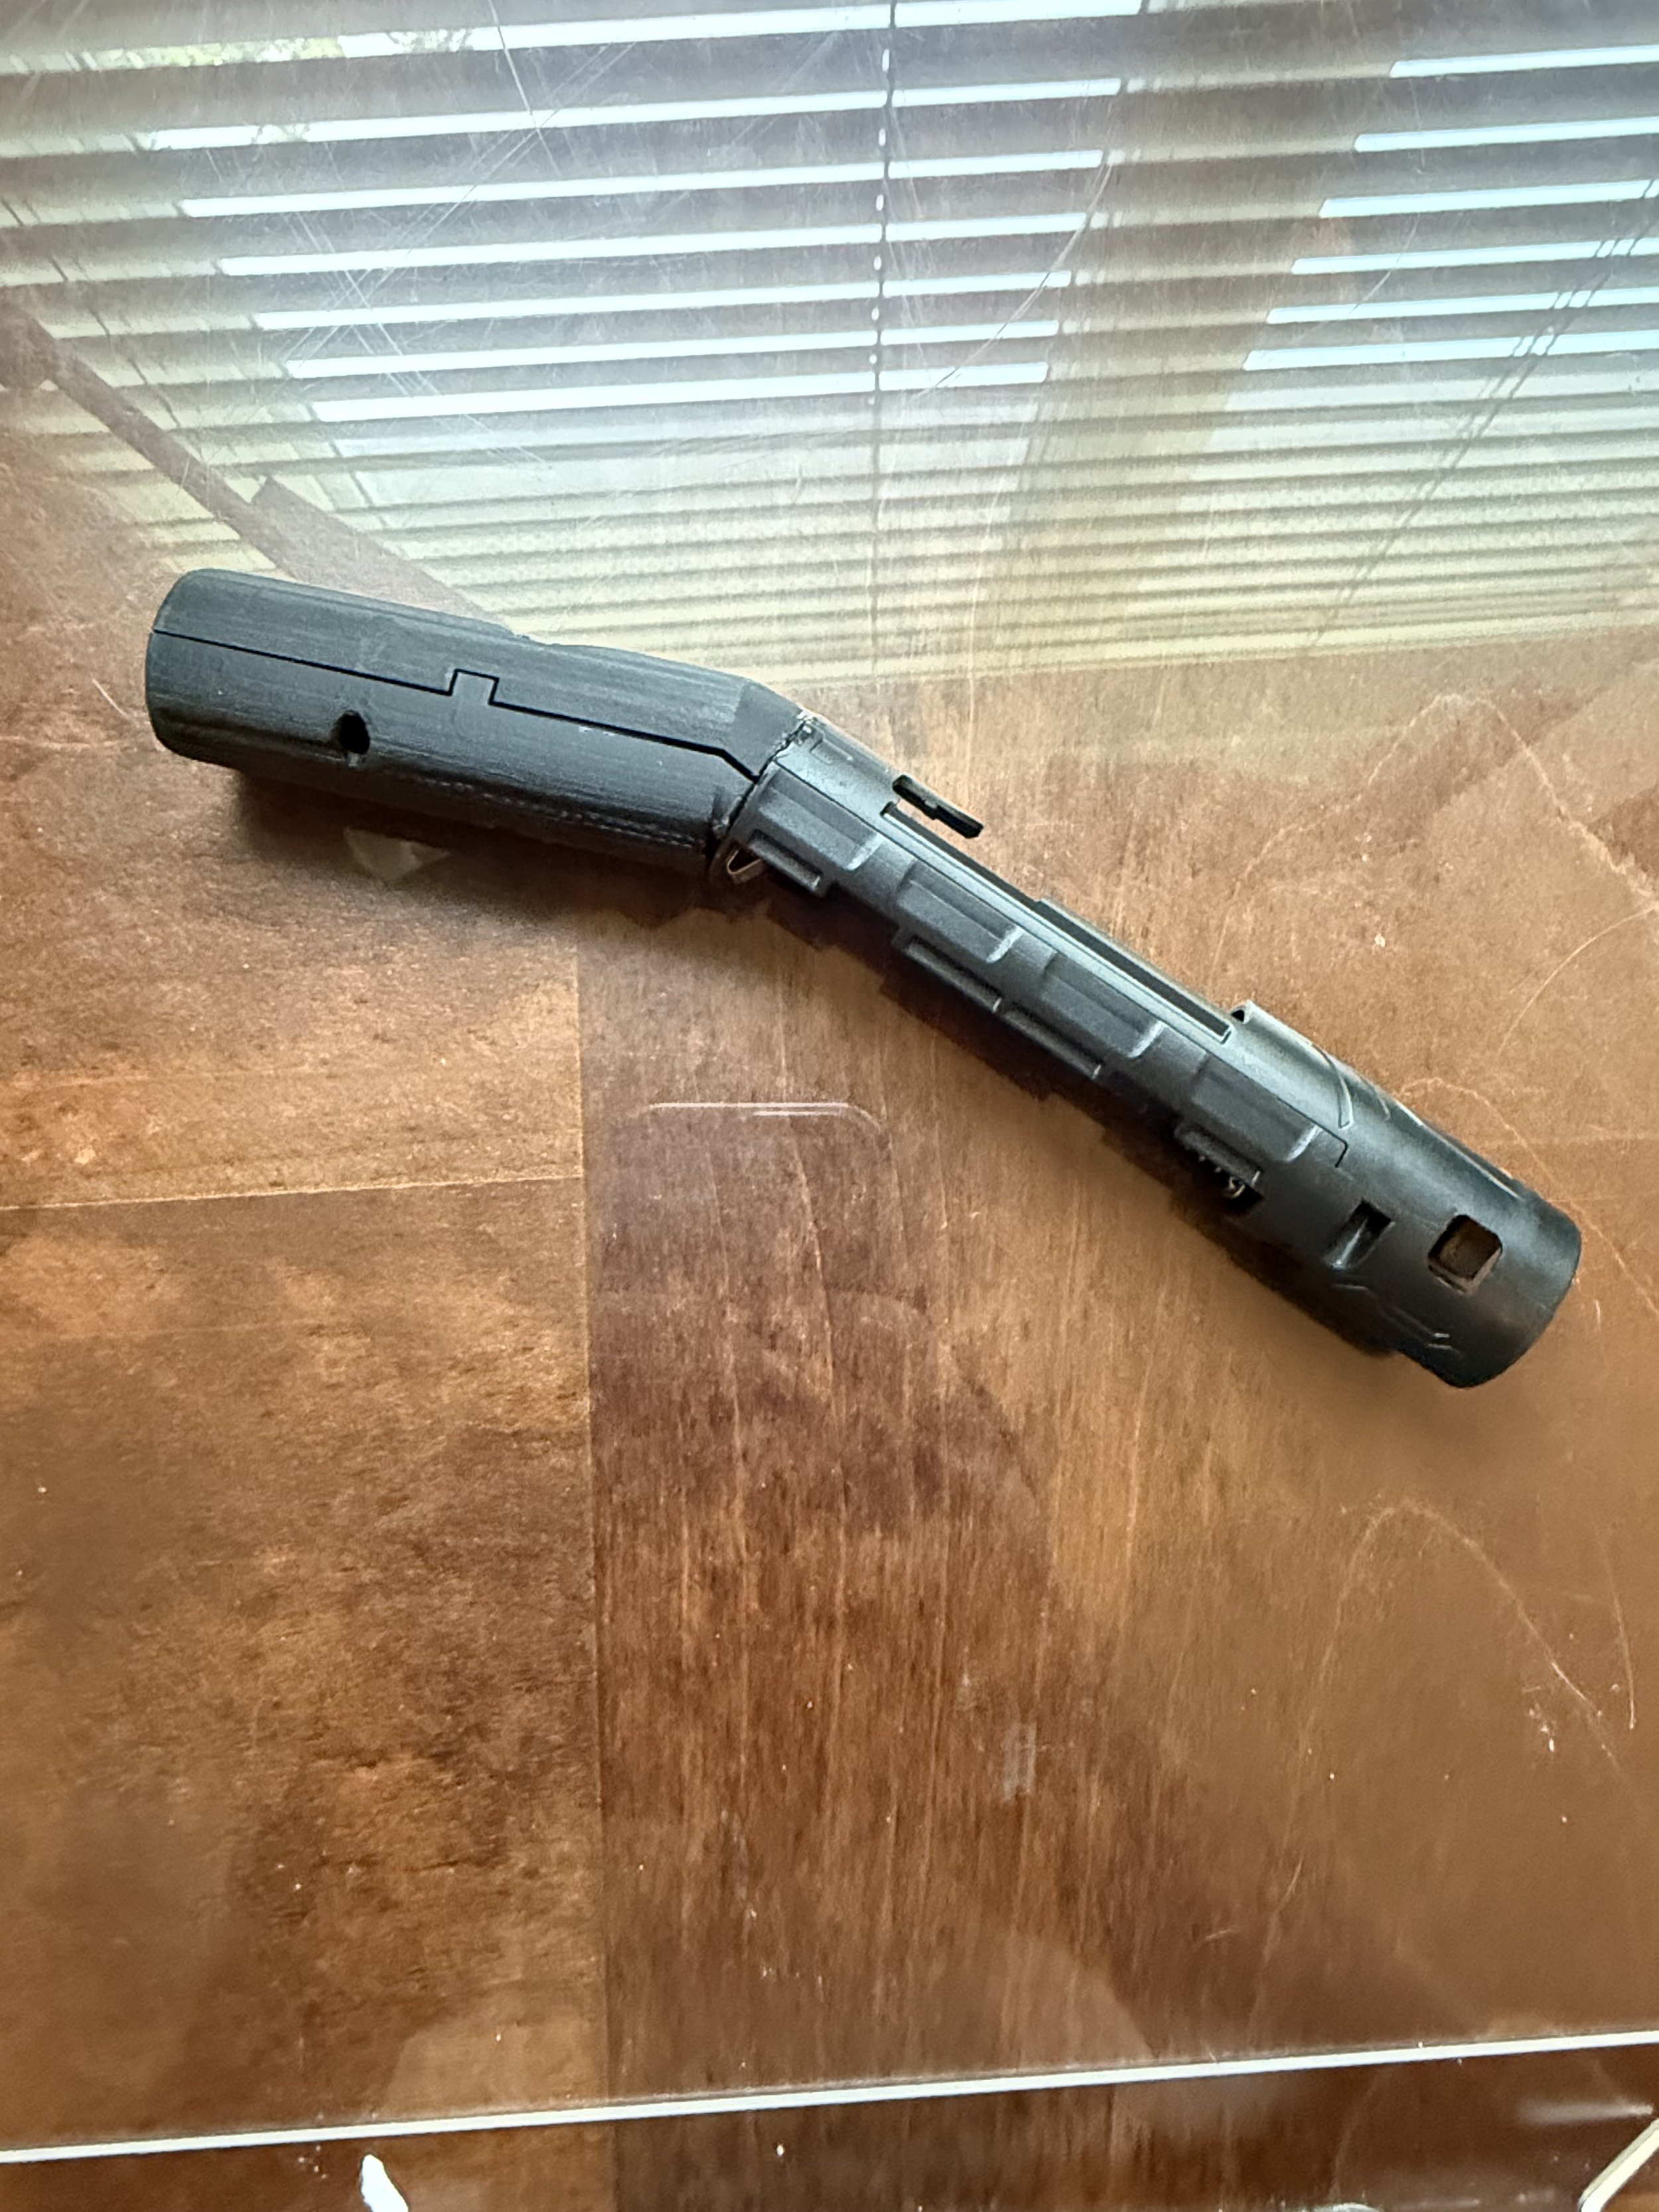
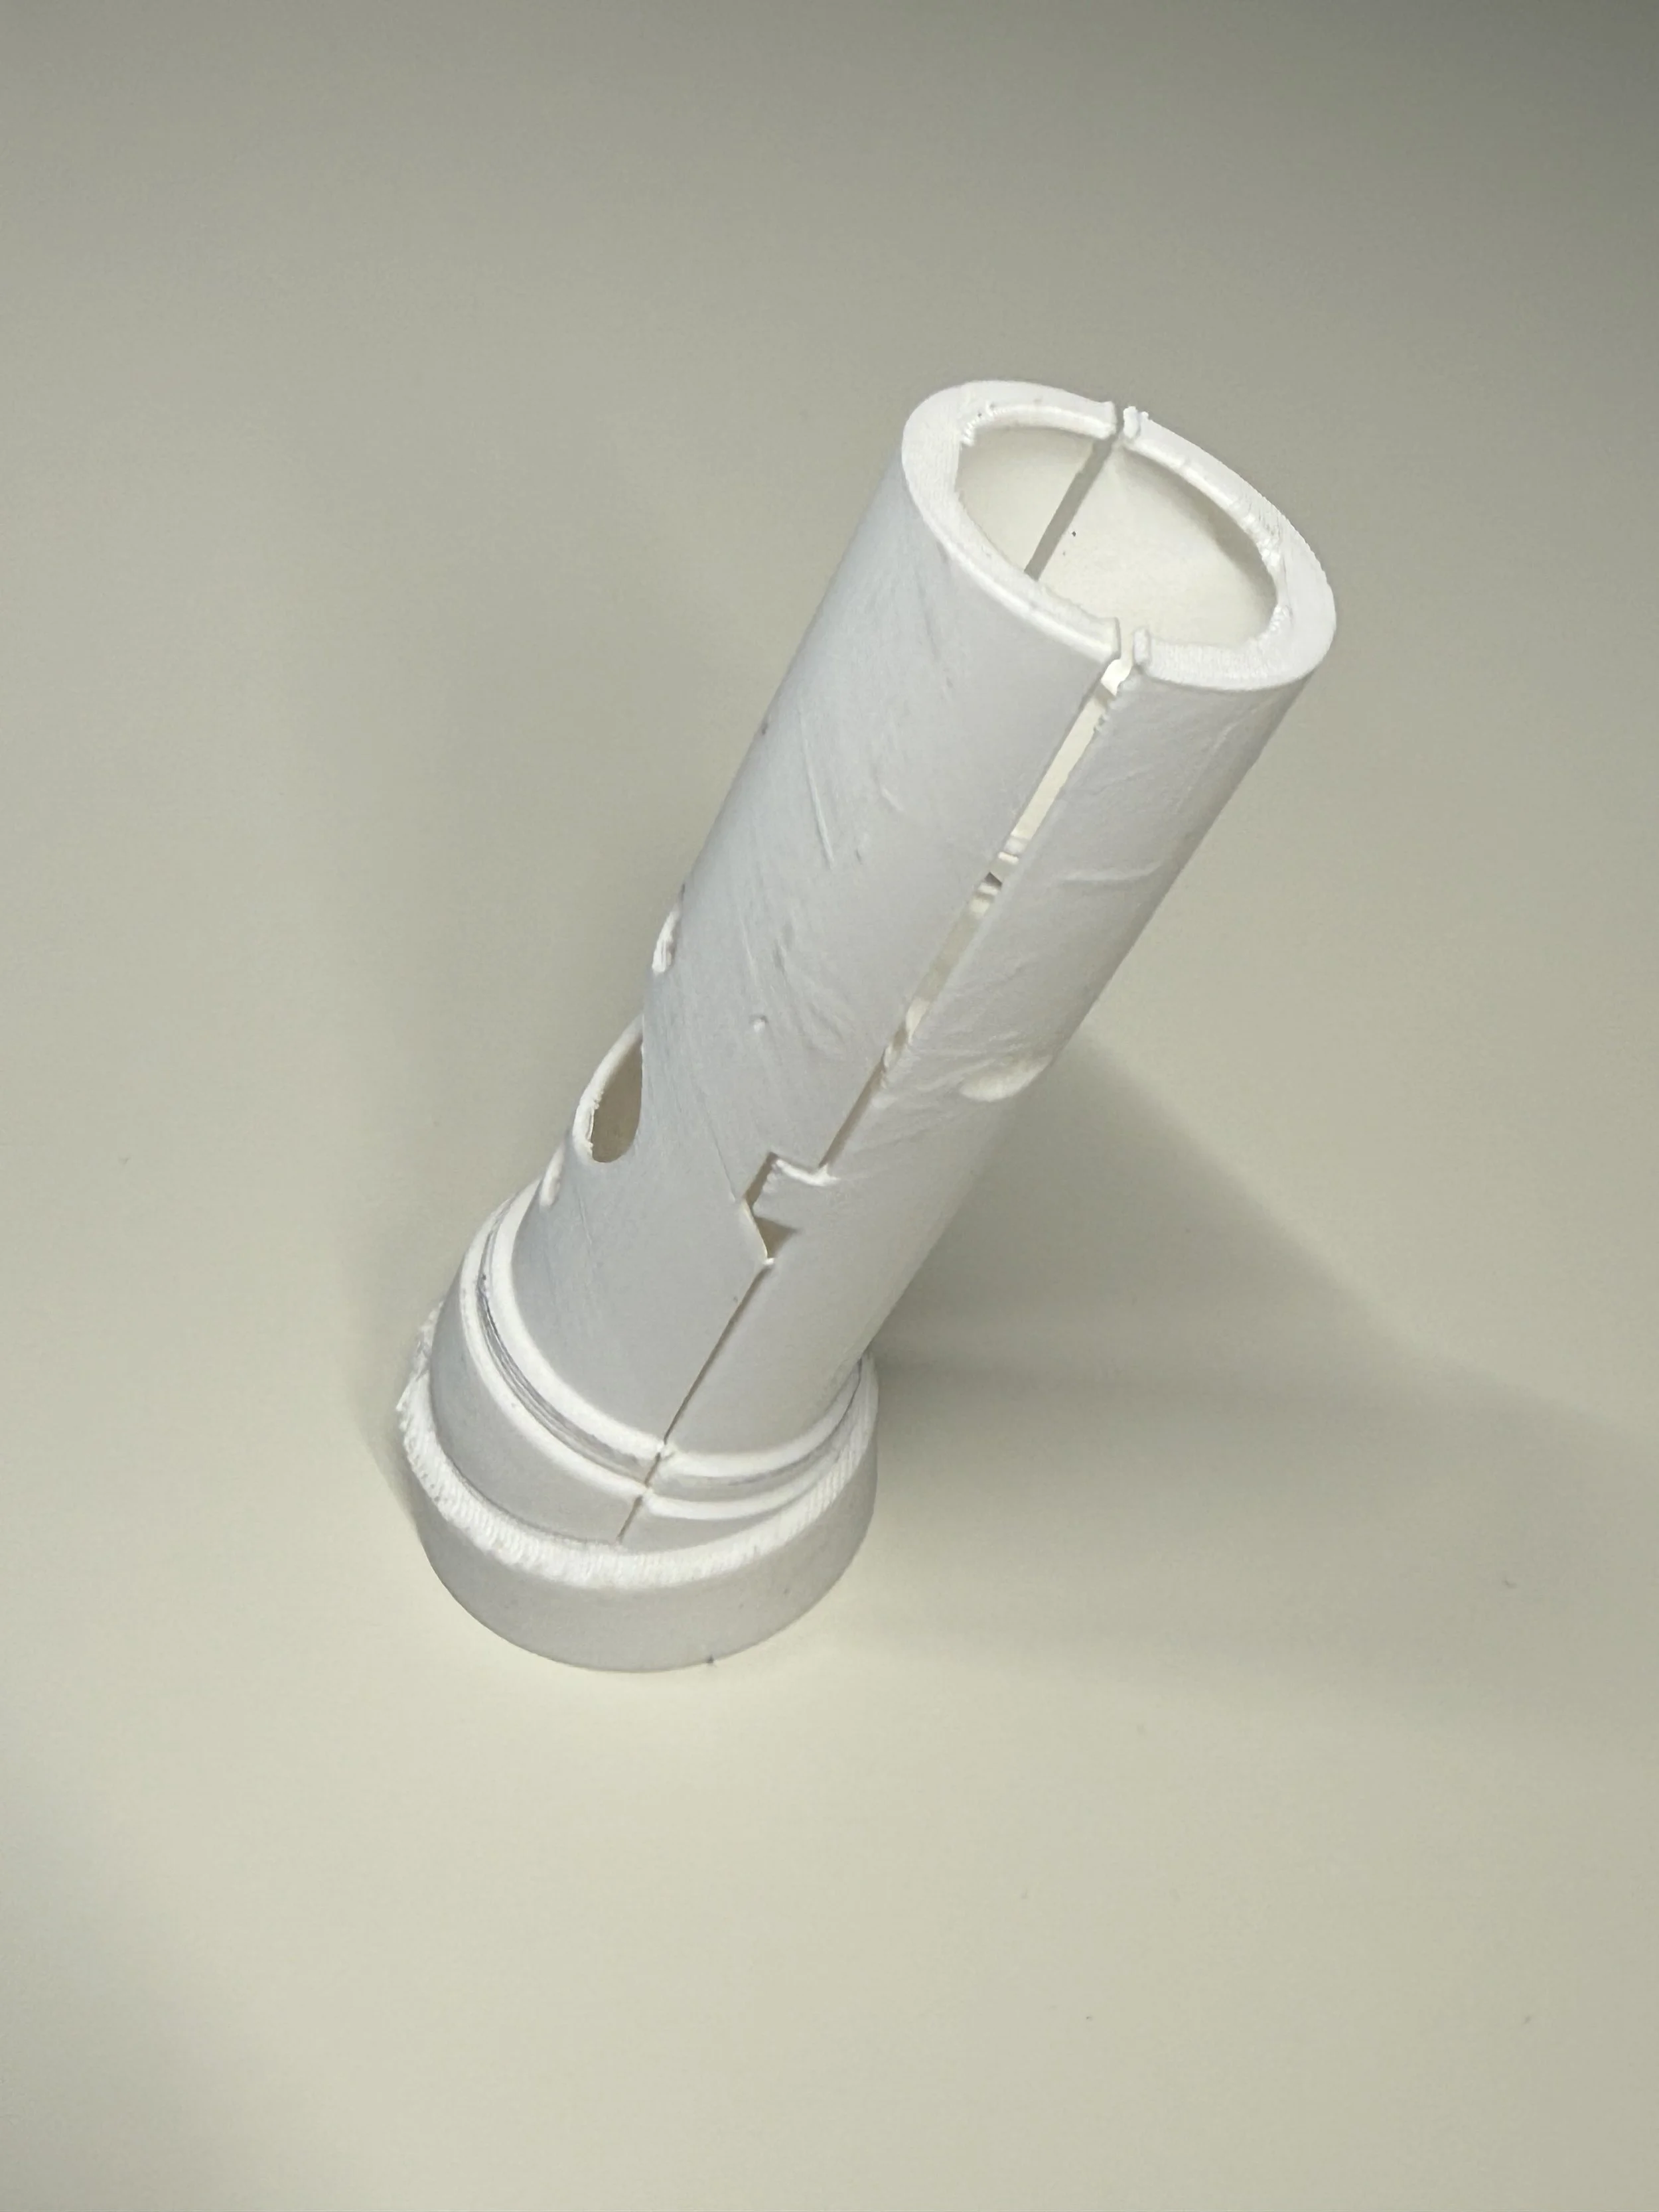
threads
Because the threads on the hilt are not a normal thread size, I spent a considerable amount of time properly replicating them on both sides so that piece could be firmly secured in/around the hilt pieces.